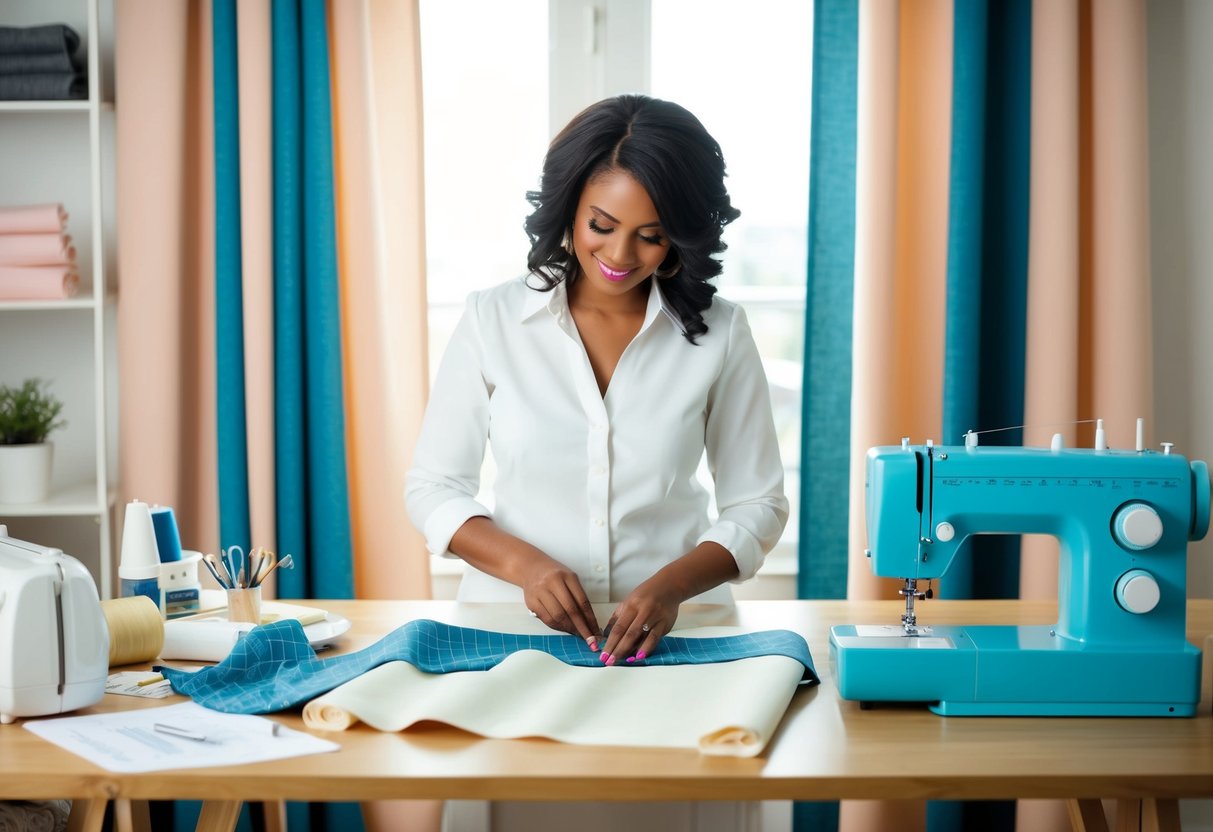
Creating Custom Curtains: A DIY Seamstress’s Guide
Measuring and Planning

Proper measuring and planning are crucial steps in creating custom curtains. Knowing how to calculate fabric quantities, measure windows accurately, and plan the layout are essential skills for any DIY seamstress to craft the perfect drapery panels.
Calculating Fabric Quantities
To determine how much fabric is needed, it’s important to consider the dimensions of the window and the desired fullness of the curtains. The curtain width should be double or triple the width of the window, depending on the level of fullness preferred. For example, a window 100 inches wide may require 200 to 300 inches of fabric width.
The length of the curtains should include the height from the curtain rod to the floor, plus any additional measurements for a hem or seam allowance. It’s also wise to add extra fabric to account for pattern matching or any adjustments. Being precise in calculations will ensure there is enough material to achieve the intended design.
Window Measurements
Accurate window measurements are the foundation for perfect-fitting curtains. They start with the width of the window frame or casing, extending the measurement to include any desired overlap on either side for proper coverage. Typically, an additional 6 to 12 inches on each side of the window is added for optimal privacy and light control.
The length should be measured from the curtain rod down to the desired point. Options include to the floor, just below the window sill, or somewhere in between, depending on the desired style. Including the curtain rod in the measurement ensures proper hanging and placement.
Planning the Layout
Planning the layout involves deciding how the drapery panels will hang, taking into account the design and pattern. Any design elements such as pleats, gathers, or headings must be considered, as they affect how much fabric is visible and how it drapes. Symmetry in layout can contribute to a polished appearance.
Choosing where seams and joins will go is crucial for maintaining an attractive visual flow with patterned fabric. Planning these aspects carefully helps create cohesive and professional-looking curtains that enhance any space. Consideration of these details ensures that each step in the curtain-making process aligns with the desired final outcome.
Cutting and Preparing Fabric
Understanding the steps for cutting and preparing fabric is crucial to crafting quality curtains. Selecting appropriate curtain or drapery fabric and ensuring precise measurements are foundations for successful curtain-making. Incorporating seam allowances correctly and utilizing effective techniques for pinning and cutting will significantly enhance the final product.
Marking and Pinning
The first step involves marking the fabric accurately. Use fabric chalk or a fabric pen to draw straight lines according to the measurements decided for the curtains. It is essential to include a seam allowance to accommodate any required sewing and hemming, typically around half an inch to one inch, depending on the project specifications.
Once the lines are marked, pinning is the next task. Secure the fabric along the marked lines using sewing pins, ensuring they are placed perpendicularly to the edge, which allows for easy removal as cutting proceeds. Pinning stabilizes the fabric and prevents movement that can lead to inaccurate cutting. It’s especially beneficial when working with slippery fabrics like silk or satin.
Fabric Cutting Techniques
For cutting, sharp fabric scissors are indispensable. Always cut along the marked lines to maintain accuracy. If the fabric has a pattern, align the designs carefully before cutting to ensure the final product is aesthetically pleasing. For large curtains, cutting on a wide, flat surface prevents the fabric from dragging, which can lead to uneven edges.
Rotary cutters can be an alternative for straight edges but require a cutting mat underneath. This tool ensures clean and precise cuts without snagging or fraying the fabric. Regardless of the cutting tool, maintaining control and a steady hand results in a perfectly tailored fabric, necessary for professional-looking custom curtains.


